Friday, November 30, 2012

How to Make a Dollhouse-Size Mac


I’ve been having intermittent computer issues which have prevented me from posting updates in any semblance of regularity. In fact, I’m taking a chance by even trying to write this entry. However, that’s what MacJournal is for. 

Before I begin my tale of creation, I need to mention that this little Apple miniature took forever to complete.  Hence, it should also be known as the “Waiting for Glue to Dry” project.

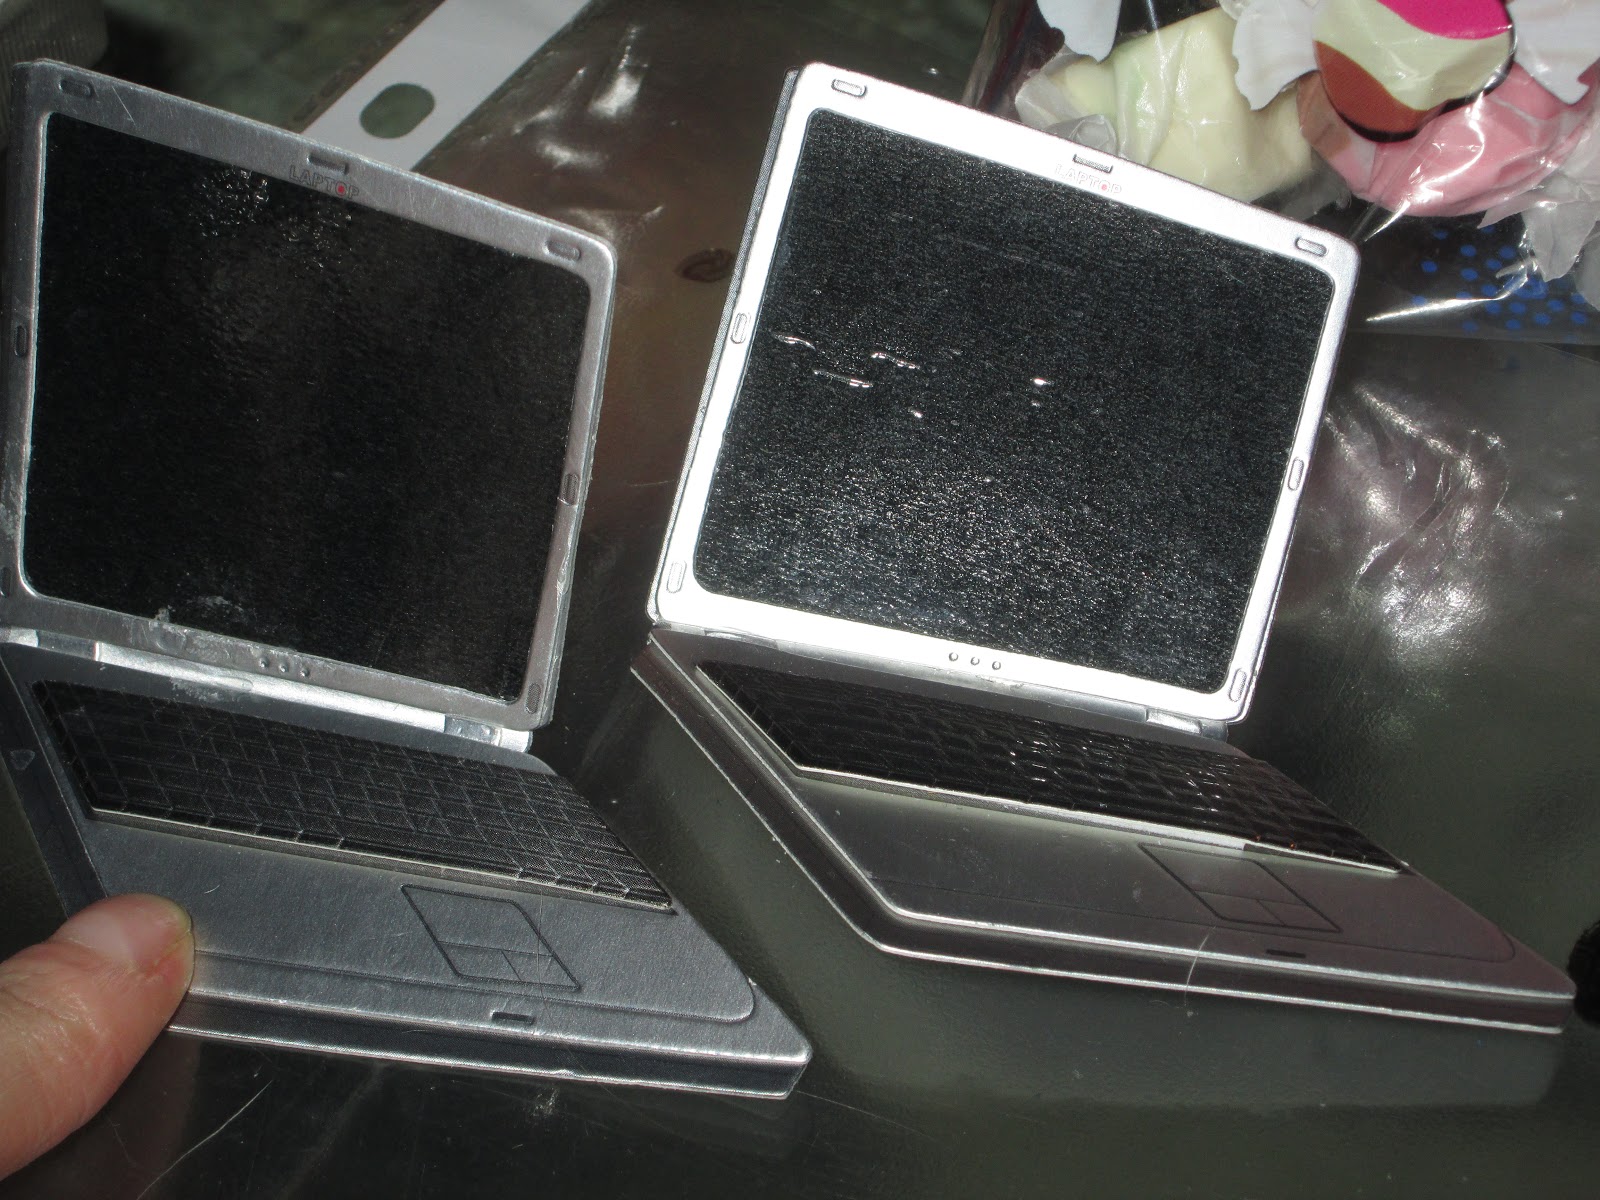
I’m sure my little replica isn’t a 100% accurate version of a real Mac, but hey, I did my best with what I had on hand which is pretty much the guideline for the entire project.  I found these little computer cutouts meant for scrap booking and figured out they might be useful for my project. It was one of those instances where you didn’t know you needed something until you saw it. 


The big challenge is that when you fold it down the middle to make it a 3d object, it creates a strange angle that you have to correct. I secured the fold with library glue which is like Elmer’s glue but with a lot more flexibility. This part took quite awhile because to stabilize the fold I had to keep adding more and more library glue. 


Since the cutout wasn’t really meant to be folded and glued, even with the library glue it still had a strange divot in it (for lack of a better term). It’s like when a sidewalk settles and one part of it is lower than the other parts and you wind up tripping over it. I attempted to even out the divot with magnet sheeting. I totally tried my best to cut out the magnet in the shape of the computer but last night when it was finally time to start gluin’ the shape of the magnet wasn’t the shape of the computer. Now I’m trying to figure out how to correct it. 


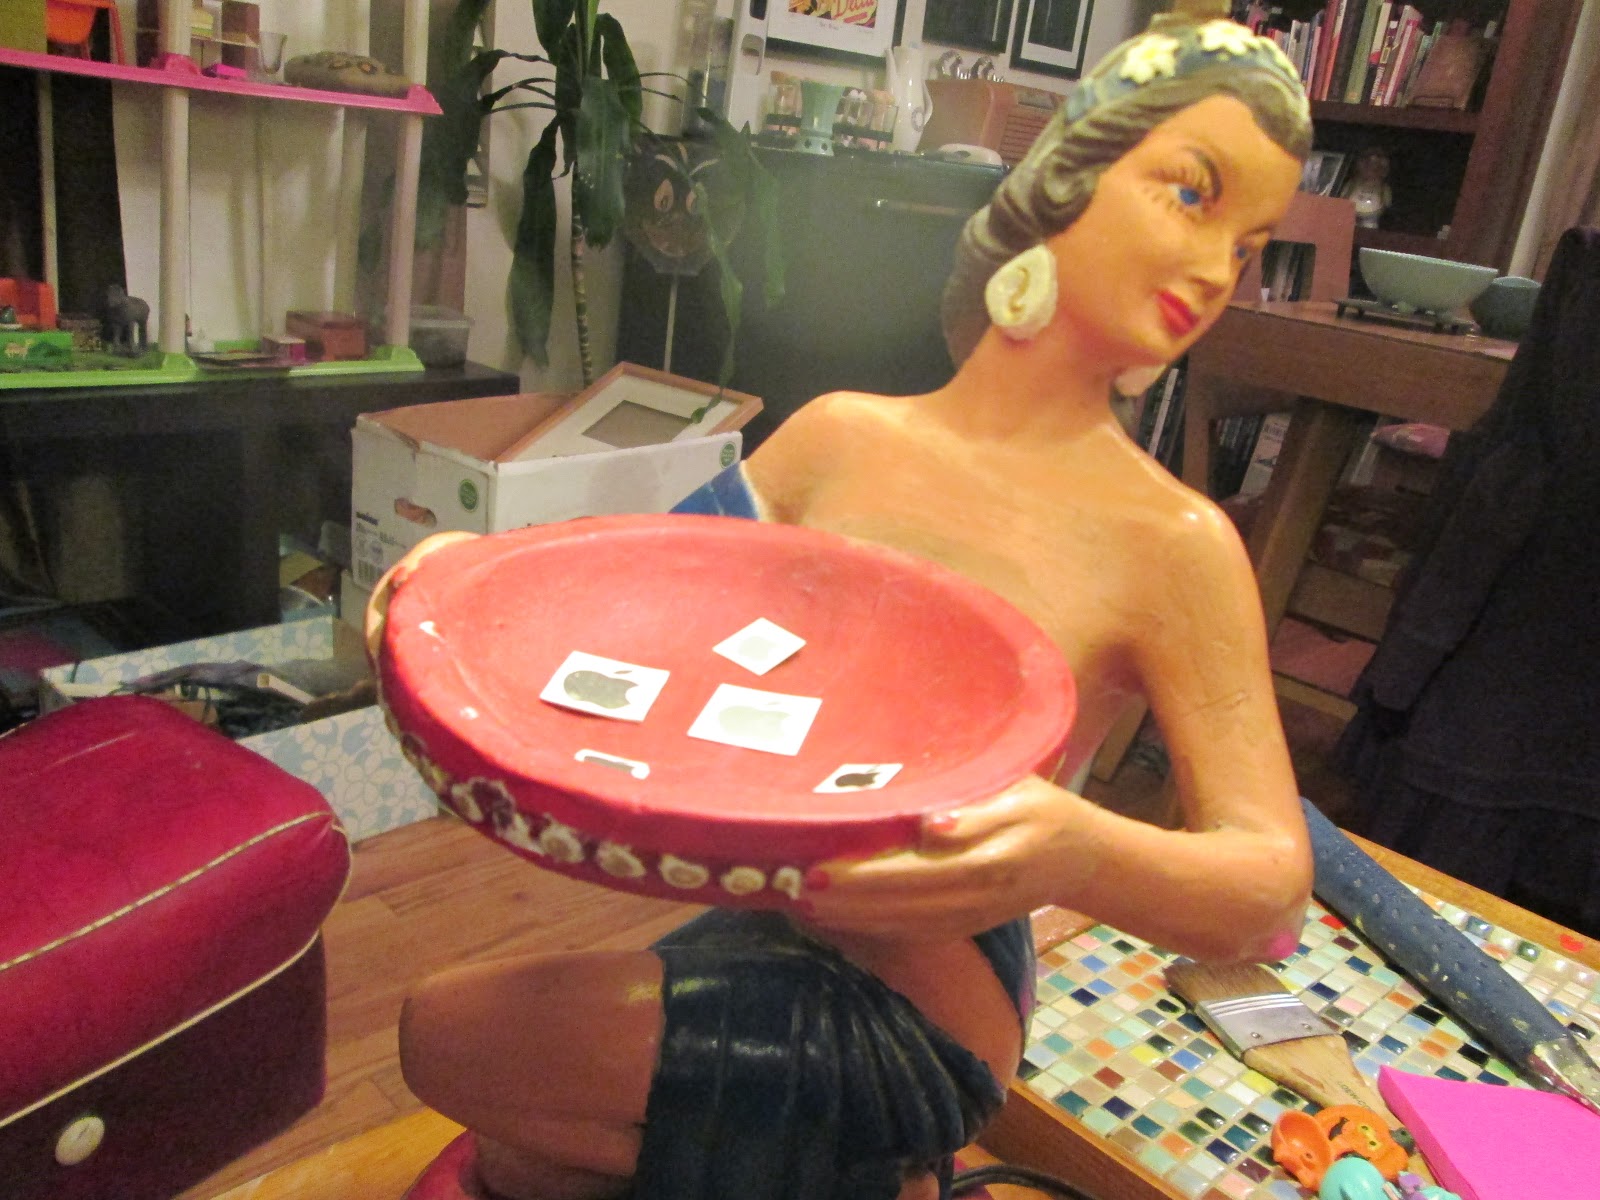
To really transform this little scrapbooking computer into a Mac is to add the familiar Apple logo. I tried looking online with no luck. Apple seems to keep their logo under lock and key so I did it the old fashioned way--through cut and paste. I took the larger silver Apple from the boxes of IPhones and IPods.  The smaller black ones are from the pages of software instructions. I tried tracing the logo onto a sheet of overhead transparency but it requires a relatively steady hand. If you want to try it, go for it. For me, it was like trying to do pinstriping. 


(sotto voce) Mmm....taffy.

I’m in the home stretch on these little tee-vee typewriters. I glued silver tissue paper over the white areas on the back. At any given time, I have about two packages of silver and gold tissue paper. It’s my favorite background for pictures in frames and for projects like this. I also like to use old maps and I have a mess ‘o maps in my craft room.  Guess what I’m waiting to do?? Yep....I’m waiting for the glue i used to adhere the tissue paper to dry.  


I decided that the finishing touch on this project---especially since now that they're glued to that small piece of wood that keeps the computer from falling over, there's a strange area where something needs to go. I decided to make a mouse out of a pooka shell and I made a wrist pad. The first try, I used cut out latex "tentacles" from one of those bouncy balls that Walgreens carries. I tried using rubber cement to secure them and it made them into a big mushy gushy mess. Instead, I used slices of museum wax.  


So, there you have it! Obviously, I made two. One Mac is in the house office. The second Mac is in one of the bedrooms that I'm turning into the room of a 17 yr-old. To perfect THAT room, I need to figure out how to construct dollhouse size crumpled fast food wrappers and Big Gulp cups.. That being said, this 17 yr-old is going to be super-cool because I made two Jack Kerouac framed photos and a Velvet Underground poster. 

The time invested was worth it, especially since I have nothing but time these days. Any questions will be welcomed. 

Sunday, November 4, 2012

Don't threaten me with a good time


I heard this quote today on television. It was one of those reality shows full of the hunting of wild animals and it shall remain nameless because....well....it's embarrassing to admit it. 

Its usage would be something like this:

 "I'm never taking you to another employee softball game. Ever."

"Don't threaten me with a good time." 

I've spent many hours today trying to correct structural damage, not to mention sagging floors. 

What did Barbie do when she bought this house? Maybe it's like the way she's portrayed in those cartoon movies in a floaty pink peignoir singing "I'm Wishing" from the Snow White soundtrack. 

I've already dealt with reinforcing the floors because her subflooring was completely gone. I mean...who doesn't notice a thing like that? I've had to deal with foundation problems. I've been using shims and a small wedge and that works, or seems to work, however, when I examine it, it still seems to be sagging. It sags on one side and I insert a few shims. Then I look at it from another angle and it looks like it's sagging on the OTHER side. It's like the Sneetches with their Star Off machine.

I knew this wasn't going to be a quick project. I used to tell my students who hurried through writing projects announcing to me "I'm finished!" after 5 or 10 minutes. I always said, "When you think you're done, you've only just begun."

On a final note, I need some more real estate. I wanted to have a backyard but the house takes up the whole table. Perhaps I can employ a small telephone table or something similar where I can display my gazebo. 

The face of grandiose delusion is slapped by the cold fish of reality

This is proving to be more difficult than I thought. The scale of the furniture to the size of the rooms is all discombobulated. Also, this dollouse really is a conversation piece. The thing is massive!  

(Oh, and the title of this post is a little tribute to Edward Gorey. )

Tuesday, October 23, 2012

I'm all twitterpated!

 I'm twitterpated because the prep work is finished and now I can start doing the fun stuff like putting it together and filling the rooms with furniture and tiny dessicant cylinders masquerading as canned food. 

I painted over the '70s backdrop and I used white paint (as in house paint) instead of spray paint. It was truly a rookie mistake and the paint caused the cardboard to crinkle. Sigh. 

Also, if you look at the last photo you can see that the backdrop has taken quite a beating. I think it looks like some mice have had it for lunch but I guess it could be wear and tear. At any rate, I glued some posterboard on all of the worn spots. 

I'd had a lot of trouble deciding where to put the finished product. It's around 60 inches long so I had to find a place for it. I didn't want to bury it in a bedroom because I want it to be a conversation piece. Fortunately, I found the perfect place on a bench/shelf in the picture window. I'll post photos of the progress which is sort of the point of this blog--ha ha


Friday, October 19, 2012

Carpenters rock!


Everybody needs a carpenter in their lives be it Jesus or the union variety.  It turns out that posterboard or matting just wasn't going to cut it (ha! cut! as in cutting with a saw). Matt the carpenter and I took a trip to Home Depot and found some sheets of particle board. I can't recall the name of the wood but it's the kind that's commonly used for dresser drawers. 

I'm glad I enlisted his help because he said that it was pretty complex and he's been a carpenter for around 20 years. We (well, he) carefully marked the measurements and used a circular saw and a circle bit. Then, he used Liquid Nails to adhere the wood to the plastic. It made a huge difference. I dont have to worry about the plastic floors bending and breaking. 

Thanks for your help, Matt aka "Thew." 


Sunday, October 7, 2012

Found miniatures


I was up late late late working on this part of the project. This was the first time I'd really sorted through my found objects, sorting them from room to room. 

The palette for the kitchen will be red and white. I want to use either that Philosophy recipe box or the older metal recipe box. Who knows, though. I might find something else in their place. I want to use those red and white pot holders for rugs. 


Check it out! It's fresh produce!!! These are actually clip-on earrings that belonged to my grandmother.


I have tons and tons of mosaic tiles and thought this color pattern would work but I need to use my tile breaker. They're too big for the scale of the kitchen.


I'm not sure where this came from but it's going to be a wonderful cookie jar.


These Trimz wallpaper borders from the '40s may (or may not) work in the kitchen. About 10 years ago these were found on eBay constantly. I haven't been able to find them for the past few years---good thing I have multiple rolls.


Do you see that little notebook with the spider? This was the object that inspired me to begin this project.


This little "dresser" was purchased on a trip to Nogales, Mexico in 1980 give or take a few years. This was a crucial object in my townhouse when I was a kid.


I found these at Michael's crafts (I know..I know) and plan on using them as kitchen cabinets.


Those little black squares are tiny chalkboards and the little shapes are mirrors. The following photos are going to be mounted on the framing matting and used as wall art. I'll probably have to save them for later since there are so many. Check out the bookmarks below! (thanks, Mom)


These tiny candles are perfect! I love the tiny bunny candles and the tiny ladybugs. Now I just need to find some tiny candle holders.


Saturday, August 11, 2012

Let the hoarding begin!


Likewise, from the days where Candra and I put together our Barbie compounds to today, I still see objects and imagine how they would look in a Barbie house. In the first photo you’ll see the elevator. Since I have two elevators I might glue them together and make them a gazebo. Yes, that pink shaggy item is, in fact, is a toilet cover. I bought it thinking that if I cut it into a rug-sized square it would make a crazy cool shag rug. I still might.  Hunter S. Tomcat is anointing it with cat smell. 


I’m also brainstorming what I’d like to do including that hideous crunchy plastic and the pink shag rug. I’m trying out using Popsicle sticks to make a wood floor. I painted them with Minwax Polyshades in Classic Oak. (which is the best thing around to duplicate the original shade of Heywood Wakefield furniture). I’ve laid the sticks out but I don’t like it. Even after Dremeling the sticks I don’t think it’s going to look all that great. The pine doesn’t absorb this nearly as birch. Oh well. It’s a process that will not ever be finalized. It’s the Winchester Mansion of Barbie houses. 


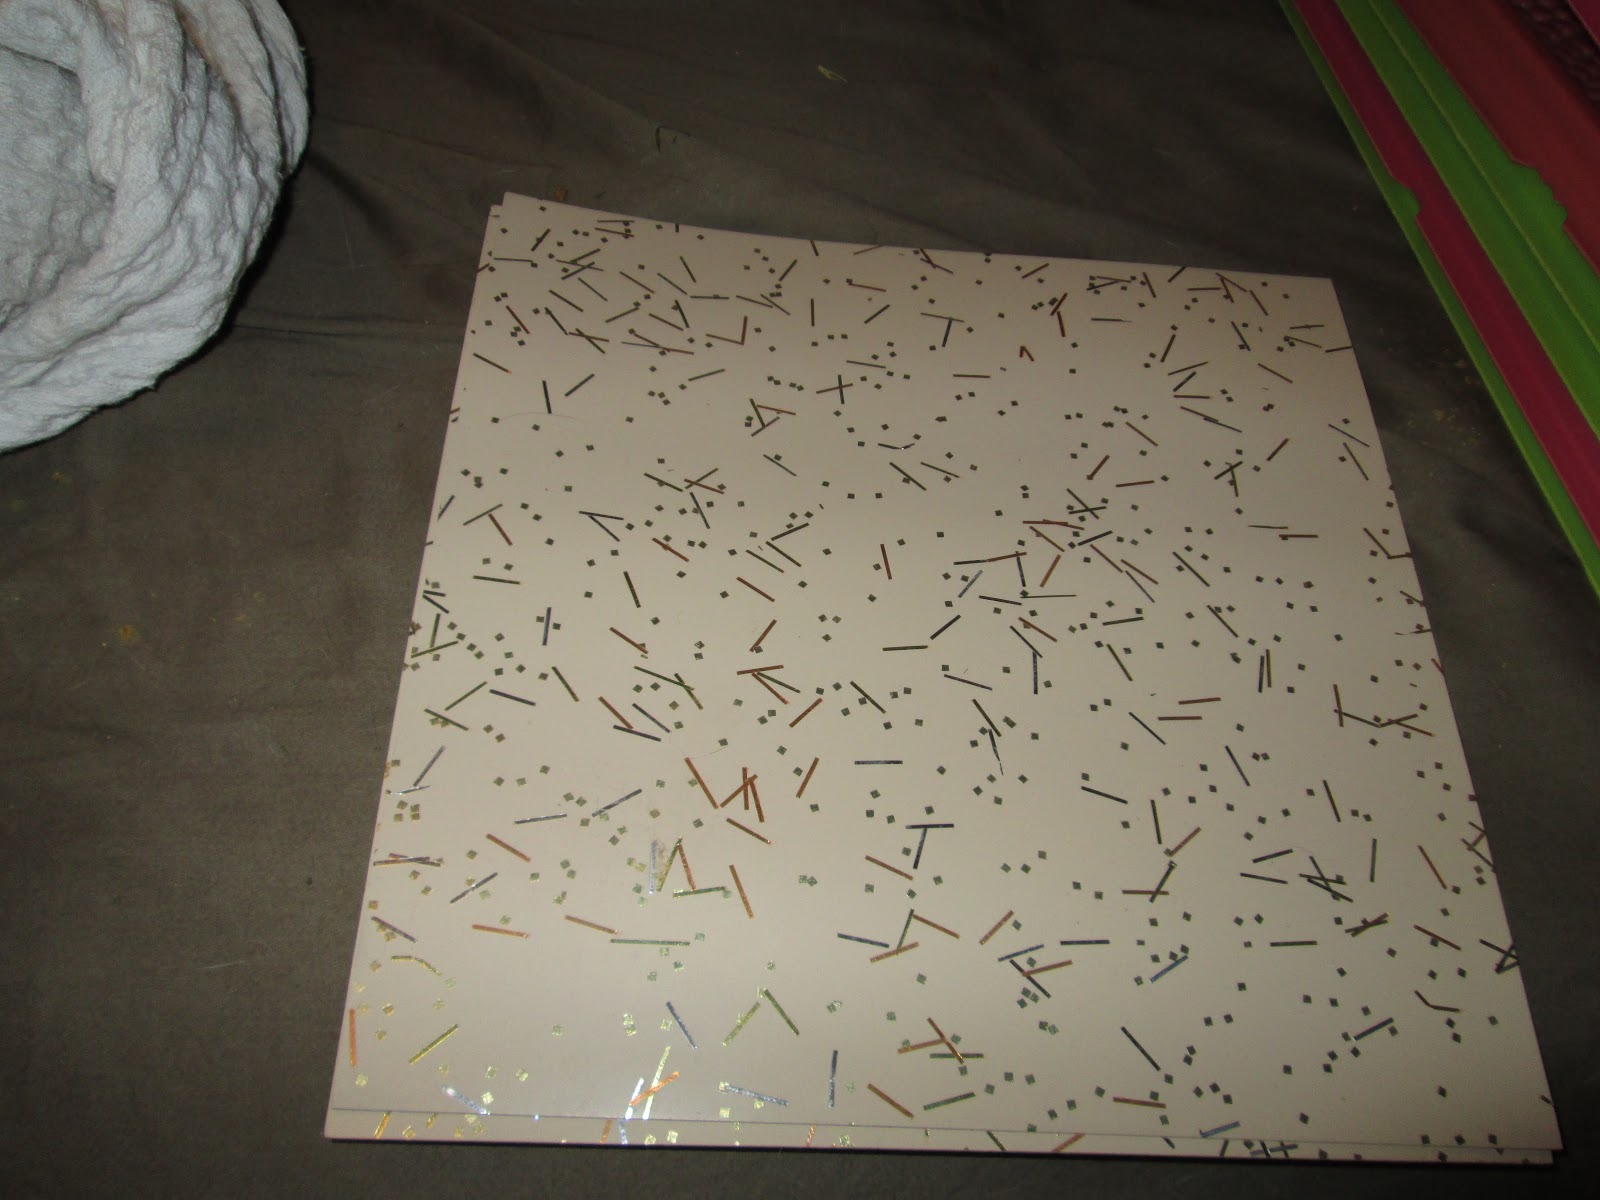
I have two boxes of this midcentury flooring. It's pink with sparkles! How awesome is that?? There's a catch, though. They're asbestos floor tiles and they emit a strange odor. I've been told that these tiles aren't a health problem until you break them into pieces (like chipping the tiles off during a remodel). 


I plan on painting over the graphics in the background with good ol' white paint so I can choose my color pallet. 

I'm not certain how I''m going to re enforce these floors. This is a template I traced. Maybe I can use the template to trace on posterboard or framing matting.