Sunday, October 7, 2012

Found miniatures


I was up late late late working on this part of the project. This was the first time I'd really sorted through my found objects, sorting them from room to room. 

The palette for the kitchen will be red and white. I want to use either that Philosophy recipe box or the older metal recipe box. Who knows, though. I might find something else in their place. I want to use those red and white pot holders for rugs. 


Check it out! It's fresh produce!!! These are actually clip-on earrings that belonged to my grandmother.


I have tons and tons of mosaic tiles and thought this color pattern would work but I need to use my tile breaker. They're too big for the scale of the kitchen.


I'm not sure where this came from but it's going to be a wonderful cookie jar.


These Trimz wallpaper borders from the '40s may (or may not) work in the kitchen. About 10 years ago these were found on eBay constantly. I haven't been able to find them for the past few years---good thing I have multiple rolls.


Do you see that little notebook with the spider? This was the object that inspired me to begin this project.


This little "dresser" was purchased on a trip to Nogales, Mexico in 1980 give or take a few years. This was a crucial object in my townhouse when I was a kid.


I found these at Michael's crafts (I know..I know) and plan on using them as kitchen cabinets.


Those little black squares are tiny chalkboards and the little shapes are mirrors. The following photos are going to be mounted on the framing matting and used as wall art. I'll probably have to save them for later since there are so many. Check out the bookmarks below! (thanks, Mom)


These tiny candles are perfect! I love the tiny bunny candles and the tiny ladybugs. Now I just need to find some tiny candle holders.


Saturday, August 11, 2012

Let the hoarding begin!


Likewise, from the days where Candra and I put together our Barbie compounds to today, I still see objects and imagine how they would look in a Barbie house. In the first photo you’ll see the elevator. Since I have two elevators I might glue them together and make them a gazebo. Yes, that pink shaggy item is, in fact, is a toilet cover. I bought it thinking that if I cut it into a rug-sized square it would make a crazy cool shag rug. I still might.  Hunter S. Tomcat is anointing it with cat smell. 


I’m also brainstorming what I’d like to do including that hideous crunchy plastic and the pink shag rug. I’m trying out using Popsicle sticks to make a wood floor. I painted them with Minwax Polyshades in Classic Oak. (which is the best thing around to duplicate the original shade of Heywood Wakefield furniture). I’ve laid the sticks out but I don’t like it. Even after Dremeling the sticks I don’t think it’s going to look all that great. The pine doesn’t absorb this nearly as birch. Oh well. It’s a process that will not ever be finalized. It’s the Winchester Mansion of Barbie houses. 


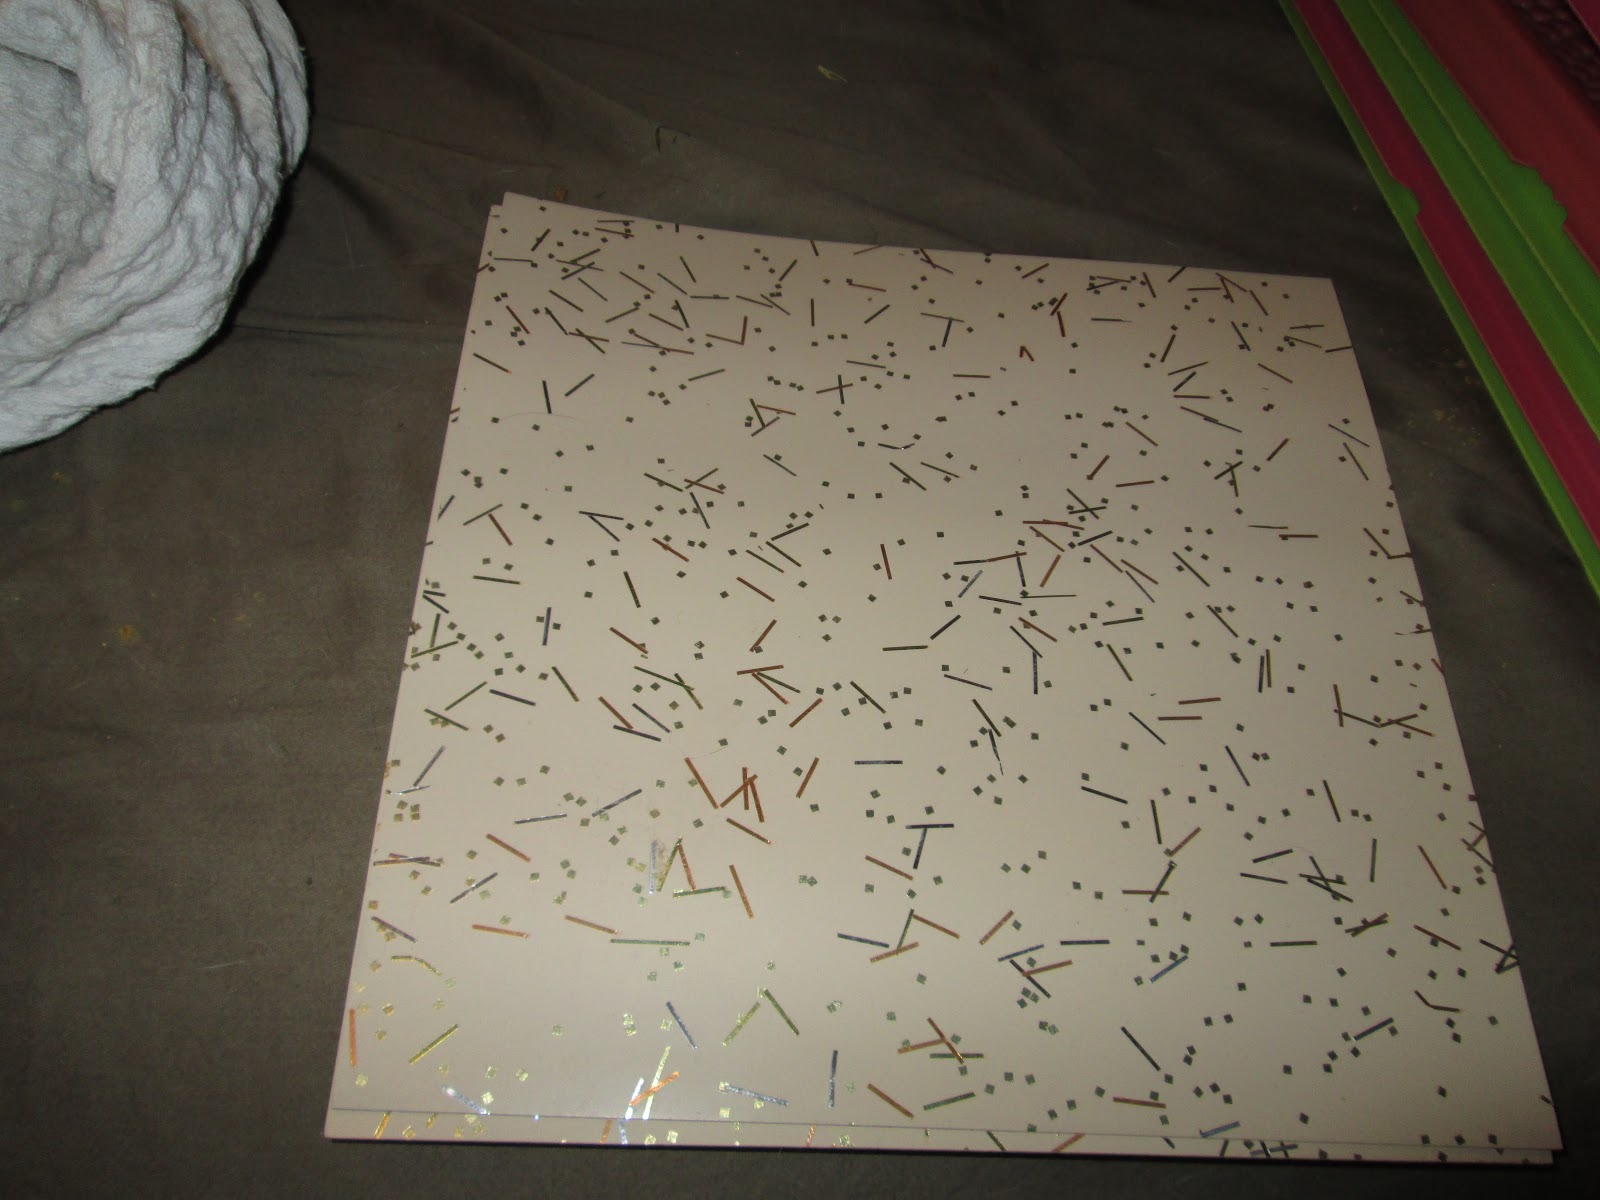
I have two boxes of this midcentury flooring. It's pink with sparkles! How awesome is that?? There's a catch, though. They're asbestos floor tiles and they emit a strange odor. I've been told that these tiles aren't a health problem until you break them into pieces (like chipping the tiles off during a remodel). 


I plan on painting over the graphics in the background with good ol' white paint so I can choose my color pallet. 

I'm not certain how I''m going to re enforce these floors. This is a template I traced. Maybe I can use the template to trace on posterboard or framing matting. 


Tuesday, July 31, 2012

Goodbye, rules!


I really wanted to stick to my guidelines about using only objects found around the house. It was a trip to the craft store that did it. I'm a creator, not a builder. I'm not the weirdo killer in The Lovely Bones. It's just that Michael's Crafts had so many cool little cupboards with drawers and such. What I'm still having trouble with is constructing the bathroom. I may have a tub (a metal pencil box) and some vague notion about a sink but how in the world do I make a toilet from scratch? Any ideas? 

Friday, July 27, 2012

The Preparations Are Underway!


The houses have arrived! I'm excited and ready to get my project off the ground but there's a problem. You see, the townhouse I had as a girl was the 1979 model. The floors were made from masoniite which gave quite a bit of support for the weight of the doll furniture. The 1979 models were just too expensive and I found out why the 1973 models were available at low prices. Basically they're a load of crap. The floors are made of brittle plastic that did not age well. Think of the way one of those recycled bottles of water feels only these floors actually crumble. I'm reminded of the part in The HItchhiker's Guide to the Galaxy  where Ford and Zaphod find the space port full of old ships, "just rust and wreckage." They comment (loosely, mind you) that those old ships would fall apart if you even looked at them.

Because of this structural setback, my project will be put on hold for the time being. I need to experiment with ways to reinforce the plastic. My first thought is to use pieces of the mat used for framing pictures.. About 20 years or so my mother took a picture framing class and saved a huge bag full of that heavy paper matting. I thoughjt of using the posterboard I'd wound up with rom school. 

I just don't know. This might be trickier than I originally planned. FWIF I' want to add a few photos for posterity. 

These are the room backgrounds. I dom't have to fall in love with them because I'm painting the entire backdrop white and paint each room so I can match its color scheme. 

I've snapped a few photos of that damn crumbly plastic floor. Please try not to judge me too harshly. I have an entire classroom that somehow was dropped on my house. Yikes.  That last photo scares me. 


I get to play architect/flooring installer

I've been thinking quite a bit about flooring. Yes, let's operate on the assumption that this is what I do in the evenings. It beats drinking.  So, yes...flooring. I'm thinking that wood flooring would be a nice touch. My stain of choice is Minwax Polyshades in classic oak. It's my go-to stain for refinishing Heywood Wakefield furniture and it has the varnish built in. I used the large craft sticks and once they dry, I'm going to see how they look. 
I'm also really wanting to do a mosaic tile floor. You can see the tiles in the photo below. I have an entire set of dishes with that pattern. I smashed up the teacups to make these shards. Nobody uses teacups anyway. (note: the butter dish with this pattern was one of the first vintage/antiques I ever purchased back in 1992). 
The last picture shows the template I'm tracing of the floor so I can reinforce it. Trust me....it's a lot trickier than it looks..


Saturday, June 30, 2012

Let's begin with my manifesto


First, let me say that Barbie dolls have absolutely nothing to do with this project. I am not a Barbie doll expert. This project is about creativity and the repurposing of objects. 

Before I begin explaining my project, let's have a little history (or in this case, herstory). During the period of 1978,-1980, my best friend Candra and I would have sleepovers every Friday. We alternated so one week we'd be at her house and the next week we would be at mine. At Candra' house, we took over the basement. At mine, it was the living room. We would bring so much Barbie stuff that it probably would have rivaled Paris Hilton's weekend luggage. We brought in tow Barbie dolls, houses, cars, clothes, and the miniatures which would complete our tableau.  

As the night wore on (stopping only for green kool-aid) we woild take over the entire room turning each and every piece of furniture, stairs, and any other place in the room that was up for fair game. At my house my favorite object was an arts and crafts footstool that my grandfather built around 70 years ago. It made the best bunkbeds! My dad even remembers this transformation to this day. 
The idea for this project has been floating around in my mind---many years after I'd put my Barbie dolls away but recent enough to still be inspired to give it a shot. Every time I'd look at a small item it would make me think that it would be so wonderful for a Barbie house. 

My objective was to select a Barbie townhouse and to find one at a low price. I didn't think I needed a mint condition house still in the box. I selected the model made in 1973. Actually, I bought two. That way I'd have lots and lots of room.  The items that follow are the guidelines I wanted to follow to really give the house a kind of DIY pizazz. 

  1. Items should, if at all possible, be found items. Look around your house. You’ll be surprised how many items you’ll find!
  2. If purchased, the item must not be used in the way it was intended like for in=stance,  those little cedar boxes available in most tourist traps/gift shoppes make lovely hope chests. 
  3. Items can be handmade by the creator of the house. Also, sea monkey habitats make wonderful aquariums!
  4. Items can be made from gifts. Be honor-bound and trustworthy. For instance, don’t give your boyfriend $100 asking him to go on such-and-such website and order some tricked-out piece of dollhouse furniture for you. It is ok, though, to accept a gift of a whole box of flotsam and jetsam and little gee-gaws from your grandma’s junk drawer. 
  5. There will be extreme cases where it is incredibly difficult to substitute found items or to make items by hand (like toilets or stoves). In those cases it will be necessary to go out there in the world and purchase that item but set your monetary limit at $25. Try ebay and you just might get a sweet item for that 25 bucks. The objective of this experiment is to use your imagination and to repurpose items that would probably be thrown away.